Last Updated: October 24, 2026
Quick Summary
Small home addition plans with a cost breakdown should set the budget before the first line is drawn, because fixed costs like foundation, roofline tie-in, permits, and mechanicals do not shrink with square footage. Split your budget into hard costs and soft costs, and hold 10-15% contingency.
- Fixed-cost items often exceed half of a small addition’s budget, so a 100-square-foot bump-out can cost a surprising share of a 300-square-foot addition.
- Soft costs include design and drafting, engineering, permit fees, inspections, and survey or site plan work.
- Contingency of 10-15% absorbs unknown conditions older homes hide and is not padding.
- A 10×12 bump-out with a shared wall, shed roof, and no plumbing is the lowest-cost of the three sample plans.
- DIY on structural work rarely saves money and usually costs more once an inspector requires corrections.
Table of Contents
- Why Small Home Addition Plans Live or Die on the Budget
- The Home Addition Cost Breakdown You Need Before You Design
- Home Addition Cost Per Square Foot: What Drives the Number
- What a 20×20 Addition Cost Looks Like Across Finish Levels
- Using a Home Addition Cost Calculator Without Getting Fooled
- Matching Your Floor Plan and Footprint to a Real Budget
- Contingency, Hidden Costs, and the DIY Versus Pro Decision
- Get a Quote and Turn Your Small Addition Plan Into a Fixed Scope
- Frequently Asked Questions
Why Small Home Addition Plans Live or Die on the Budget
Small home addition plans with cost breakdown work best when the budget is set before the first line is drawn.
A small addition is small in footprint, not in cost.
That is why so many small addition budgets fall apart. Homeowners budget by square footage and contractors price by scope. The two numbers rarely meet.
Below, we break down what drives the cost of a small addition, how to read a per-square-foot figure, and how to match a floor plan to a real number before you commit.
The Home Addition Cost Breakdown You Need Before You Design
A home addition cost breakdown splits into two buckets: hard costs (the physical build) and soft costs (everything required to make the build legal and buildable). Most homeowners budget for the first and forget the second.
The useful version is a set of line items with a realistic share of the total attached to each, that is what lets you sanity-check a bid and spot what has been left out.
Hard Costs: Foundation, Framing, Roofline, and Mechanicals
Hard costs cover the work you can see and touch when the project is done. The biggest line items:
- Foundation and site prep. Ground conditions drive this more than size does. Sloped lots, poor soil, and tight access all add cost. A simple slab or crawlspace on flat ground sits at the low end; a full basement or engineered foundation on a difficult lot sits at the high end.
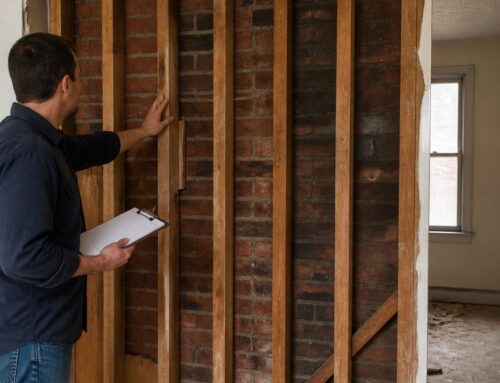
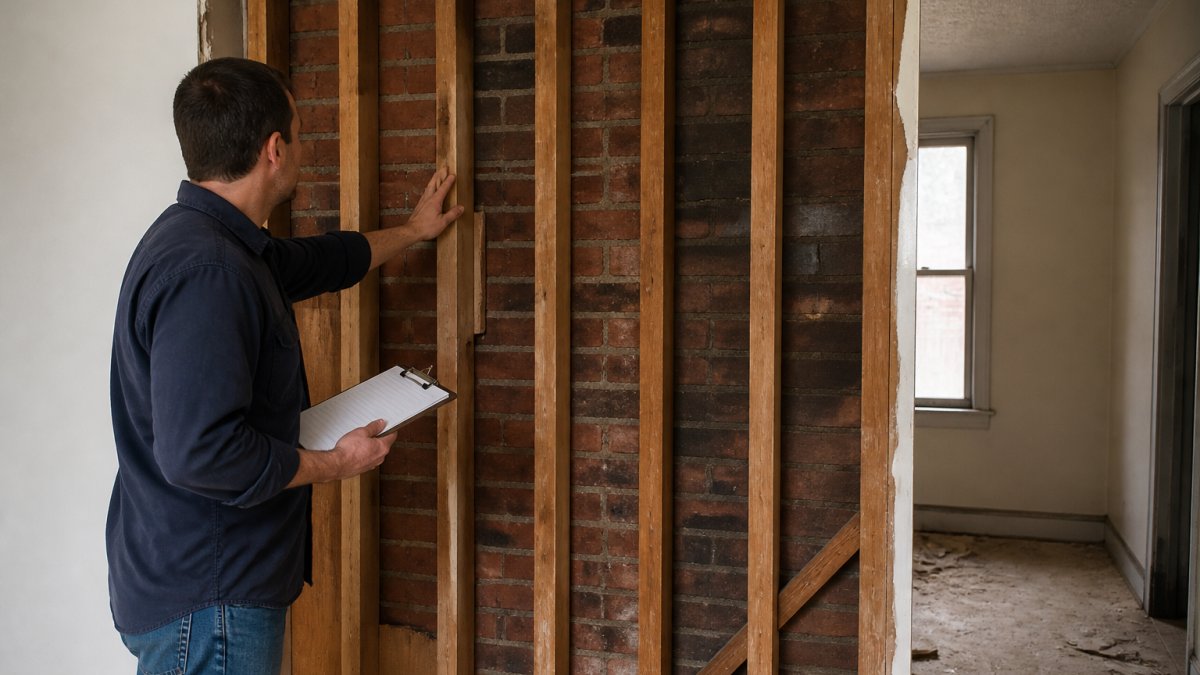
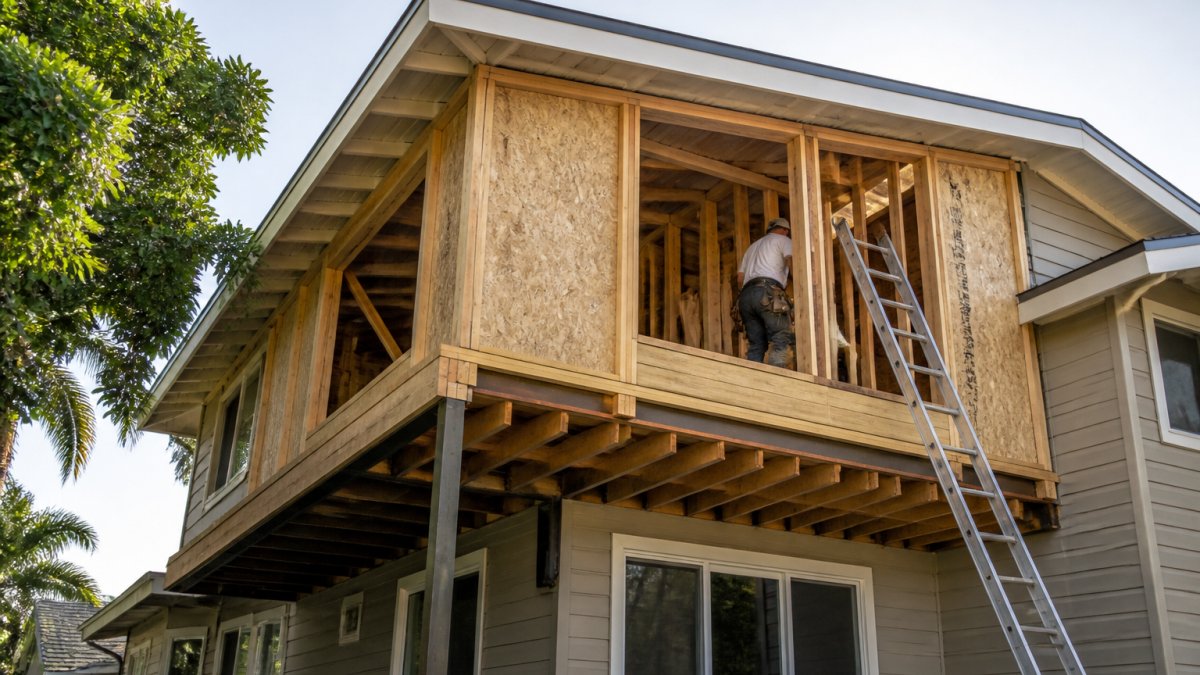
- Framing and structural tie-in. The new structure must connect to the existing one safely, and that connection is where structural requirements get serious. A simple bump-out sharing an existing wall is cheaper than a cantilevered or second-story tie-in requiring new beams and posts.
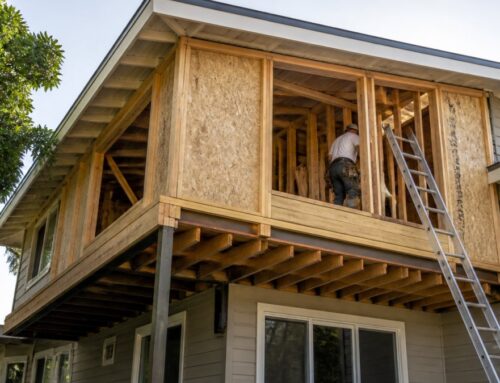
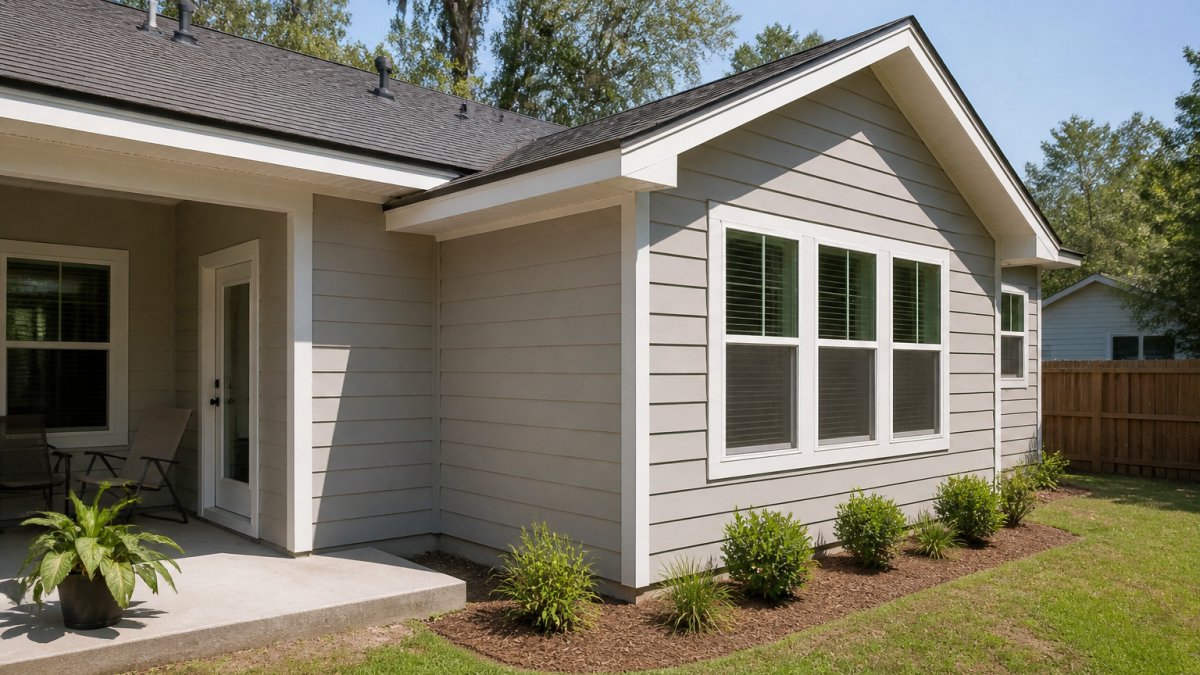
- Roofline. Matching an existing roofline costs more than starting fresh: pitch, materials, and flashing all have to align. A shed roof tucked under an existing eave is cheapest; a full gable that matches the house costs more.
The International Code Council’s building code resources set the baseline for how these systems must be built. Your local code official enforces the version your area has adopted.
If you want to understand how structural requirements shape these numbers, our guide to major home addition structural requirements walks through the details.
Soft Costs: Design, Permits, and Inspections
Soft costs are easy to underestimate: design and drafting, engineering, permit fees, inspection-related costs, and the time cost of waiting on approvals.
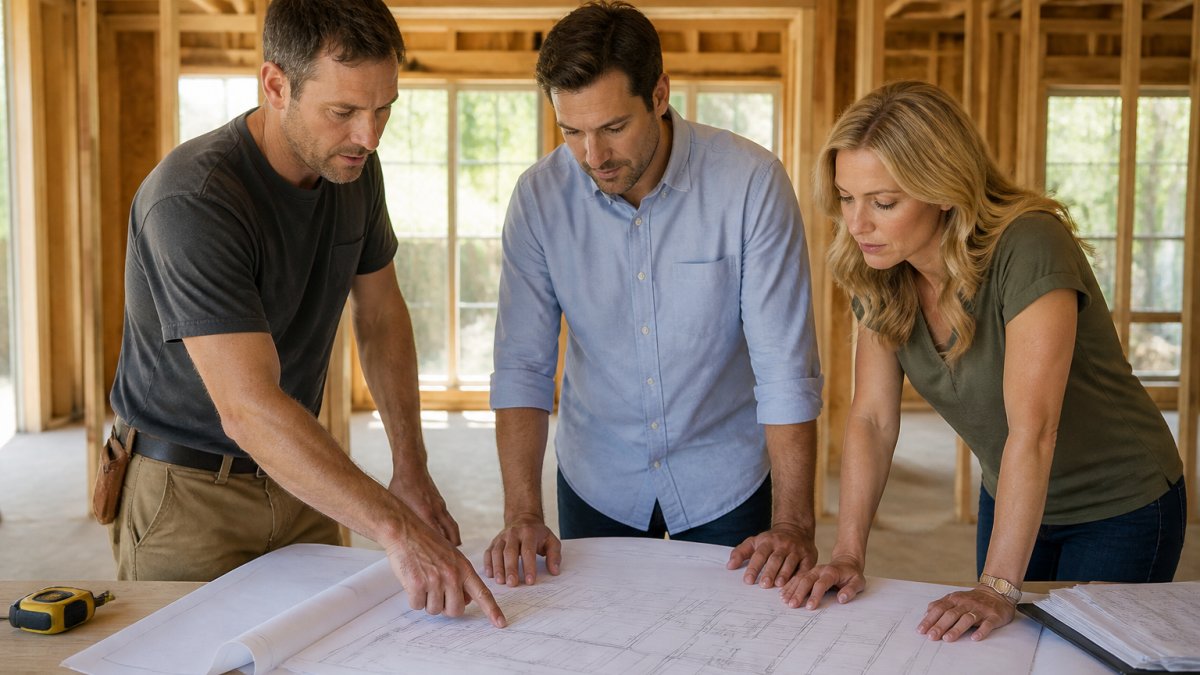
- Design and drafting. Construction drawings for a small addition are a real cost, not a formality. Simple plans cost less; plans requiring engineering stamps cost more.
- Engineering. Structural, civil, or soils engineering may be required for foundations, tie-ins, or grading, often triggered by the building department, not chosen by the homeowner.
- Permit fees. Usually calculated from project valuation or square footage and varying widely by jurisdiction. A small addition may carry a lower fee, but the fixed administrative cost does not disappear.
Permits are not optional. Unpermitted work can complicate a future sale and may need to be torn out. Our guide to home addition permits explains why they are required and how the process works.
Budgeting for construction only and treating design and permits as an afterthought is the single most common way small addition budgets blow up. Set aside a real figure for soft costs before you sign a design contract.
A Sample Itemized Budget for a 200-Square-Foot Addition
Broad ranges are not a budget. Here is how the line items above add up for a genuinely small addition, expressed as a share of the total rather than a fixed price.
| Line Item | Share of Total | What Drives It |
|---|---|---|
| Design, drafting, and engineering | 4-8% | Complexity, engineering stamps, revisions |
| Permits and inspections | 2-5% | Jurisdiction, project valuation, required inspections |
| Site prep and foundation | 12-20% | Soil, slope, access, foundation type |
| Framing and structural tie-in | 15-22% | Span, tie-in method, existing structure condition |
| Roofing and exterior finishes | 10-15% | Roofline match, siding and window match |
| Windows and doors | 5-10% | Quantity, glazing, energy rating |
| Mechanical, electrical, plumbing | 10-18% | Distance to panel and mechanical room, fixtures |
| Insulation and drywall | 5-8% | Code requirements, finish level |
| Interior finishes and fixtures | 10-18% | Finish level, flooring, trim, fixtures |
| Contingency | 10-15% | Age of home, unknown conditions |
Two things stand out. First, the fixed-cost items, design, permits, foundation, roofline tie-in, and mechanicals, often account for more than half of a small addition’s budget, which is why a 100-square-foot bump-out can cost a surprising share of what a 300-square-foot addition costs. Second, contingency is not padding; it absorbs the unknown conditions older homes hide.
If a bid omits any of these line items, ask where it lives. A bid that looks low usually moved one out of scope rather than eliminated it.
Use the percentage table as a checklist, not a quote. Apply your local per-square-foot rates to the hard-cost lines and your jurisdiction’s fee schedule to the soft-cost lines, then compare the result to any bid you receive. The gap tells you what is missing.
Home Addition Cost Per Square Foot: What Drives the Number
Home addition cost per square foot is a useful comparison tool, not a quote.
The main drivers are:
- Finish level. Standard finishes and premium materials sit at opposite ends of the range.
- Design complexity. Angles, vaulted ceilings, and custom millwork cost more than simple rectangles.
- Site conditions. Access, grading, and soil affect foundation and labor cost.
- Existing structure. Tying into an older home often costs more than tying into a newer one.
- Local costs. Regional pricing for labor and materials varies widely.
A simple ground-level bump-out usually lands at the low end per square foot; a second-story addition or a sunroom with heavy glazing lands higher.
Use it this way: if a contractor’s number is far below the local range for your finish level, ask what is excluded.
What a 20×20 Addition Cost Looks Like Across Finish Levels
A 20×20 addition cost depends more on finish level than on the 400 square feet. The same footprint can be a basic family room or a high-end living space, and the gap is large.
Here is how the finish level changes the picture:
| Finish Level | What It Includes | Cost Impact |
|---|---|---|
| Budget-friendly | Standard flooring, basic fixtures, simple roofline | Lowest |
| Mid-range | Upgraded flooring, quality fixtures, some custom detail | Moderate |
| Luxury | Premium materials, custom millwork, complex design | Highest |
The footprint stays the same. The scope does not.
We do not publish fixed prices because every project is different, but finish level is the lever you control most directly.
For a full cost breakdown on this specific size, see our guide to 20×20 addition cost.
Using a Home Addition Cost Calculator Without Getting Fooled
A home addition cost calculator gives you a range, not a price, useful for early planning, useless as a substitute for a real estimate.
Calculators multiply square footage by a regional rate, ignoring the drivers that matter most: site conditions, structural tie-in, and finish level.
Use a calculator to answer one question: are we in the right ballpark?
The U.S. Department of Housing and Urban Development resources are a reasonable starting point for understanding local housing and financing context.
Matching Your Floor Plan and Footprint to a Real Budget
Matching a floor plan to a budget is a design exercise, not a math exercise.
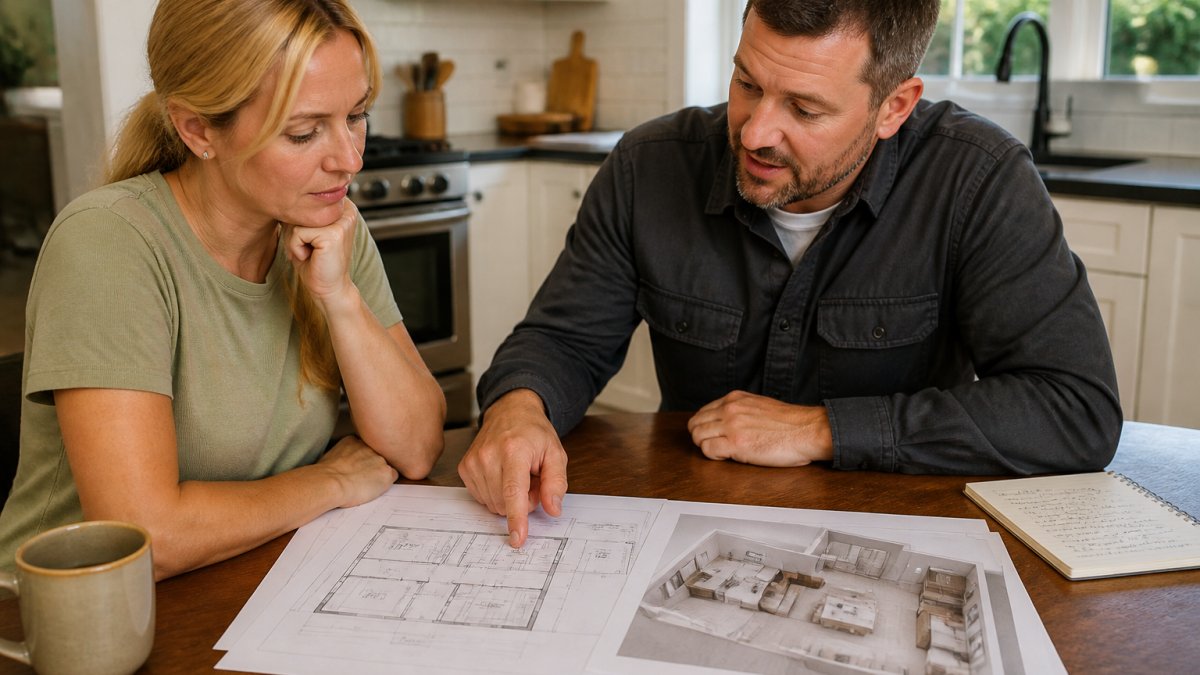
Start with function, not size. A mudroom needs storage and a door; a bathroom expansion needs fixtures and clearance; a bedroom addition needs egress and closet space.
Then set the budget and design backward from it. Our guide to home addition layout strategies covers seven approaches that help a plan fit a real number.
A common mistake is designing the dream version first and cutting later.
Three Small Plans and the Budget Range Each One Fits
The useful way to match a plan to a budget is to start with a few common small-addition layouts and see what each typically costs to build.
Plan B: The 12×16 rear addition (192 square feet). A single room with a full gable roof that matches the house, a crawlspace foundation, and electrical only.
| Plan | Footprint | Key Cost Drivers | Budget Position |
|---|---|---|---|
| A: Bump-out | 120 sq ft | Shared wall, shed roof, no plumbing | Low end |
| B: Rear addition | 192 sq ft | Gable roof match, crawlspace, electrical only | Middle |
| C: Suite addition | 288 sq ft | Plumbing, mechanical load, higher finish | High end |
Read the table as trade-offs, not a price list.
How to Match a Plan to Your Number
A practical sequence for matching a plan to a real budget:
- Set the total budget first. Include soft costs and contingency, not just construction.
- Pick the function. Decide what the room must do before deciding how big it is.
- Choose the simplest plan that delivers the function. Prefer shared walls, simple rooflines, and no new plumbing where the function allows it.
- Apply local rates to the line items. Use the percentage table in the cost breakdown section to see where the money goes.
- Get a real estimate before you fall in love with a design. A plan you cannot afford is not a plan.
The cheapest square foot is the one you do not build. A well-planned 120-square-foot bump-out that does the job beats a 200-square-foot addition that strains the budget and forces cuts to finishes and contingency.
For a full cost breakdown on a specific size, see our guide to 20×20 addition cost.
Contingency, Hidden Costs, and the DIY Versus Pro Decision
Contingency is not padding. It keeps a project from stalling when something unexpected turns up.
Set aside a real contingency figure and protect it. If you spend it on upgrades, you no longer have a contingency.
Hidden costs to plan for:
- Permit revisions if the scope changes mid-project
- Temporary power or access work
- Landscaping repair after construction
On DIY versus pro, be honest about the line. Painting and simple trim are reasonable to do yourself.
What most guides miss is that DIY on structural work rarely saves money.
Get a Quote and Turn Your Small Addition Plan Into a Fixed Scope
The gap between a plan and a fixed scope is where budgets get protected.
At Remodeling Pros, we have worked on structural remodels and additions since 1998.
Keith Sheets and our team walk homeowners through the conceptual stage and answer questions as they come up.
If you are ready to turn a plan into a fixed scope, get a structural remodel quote and start with a real number.
Frequently Asked Questions
What is the cheapest way to add an addition to a house?
The lowest-cost route is usually a ground-level bump-out that reuses an existing exterior wall and roofline, because it avoids a new foundation footprint and complex framing. Keeping the addition under roughly 300 square feet, choosing standard finishes, and placing plumbing and electrical runs close to existing service reduce labor and materials. A patio enclosure or mudroom typically costs less than a kitchen or bathroom expansion. Get itemized bids before you commit, since the cheapest headline number often hides allowances that grow later.
How much would a 20×20 addition cost?
A 20×20 addition is 400 square feet, so the total depends almost entirely on your cost per square foot and finish level. Budget-friendly builds with standard finishes sit at the low end of the per-square-foot range, while premium materials, design complexity, and site conditions push it higher. Add 10 to 20 percent contingency on top. Because local labor rates and permits vary, ask a contractor for a line-item estimate rather than relying on a national average.
What is the most expensive part of a home addition?
Foundation and structural work usually carries the largest single share, followed by framing and the roofline tie-in. Mechanical rough-ins for plumbing, electrical, and HVAC are the next biggest driver, especially when the addition includes a bathroom or kitchen. Finish level is the swing factor: standard finishes keep the budget in check, while luxury finishes and custom millwork can rival the structural costs. Site conditions, such as sloped ground or an older existing structure, add cost before a single finish is chosen.
Do small home additions need permits?
Yes, in nearly every case. Adding heated square footage, altering a roofline, or extending plumbing and electrical service requires a building permit and inspections under local building codes. Skipping permits can force you to tear out work, complicate a future sale, and void insurance coverage. Ask your contractor who pulls the permit and which inspections are scheduled. A reputable builder will include permit fees and inspection milestones in the written scope.
How can I keep a small home addition within budget?
Set the budget before the design, not after. Match your floor plan to a realistic cost per square foot, choose standard finishes in low-visibility areas, and keep the new footprint simple: a rectangle costs less than an L-shape. Hold a 10 to 20 percent contingency for hidden costs like soil issues or code upgrades. Get an itemized cost breakdown instead of a lump sum, and confirm what the contractor excludes so surprise overruns do not appear mid-build.
The hardest part of a small addition is not the build. It is holding a plan and a budget together long enough to make a decision. Remodeling Pros can help you do both, with 3D design that shows the result before construction, a Last Day Breakthrough process that keeps your home livable, and guidance on which upgrades actually add value. Get started with Remodeling Pros and turn your small addition plan into a build you can afford.