Table of Contents
- Assess Your Current Property and Define Project Scope
- Create a Detailed Floor Plan for Your Addition
- Using Home Addition Design Software to Visualize Your Project
- Navigate the Home Addition Permitting Process
- Evaluate Structural Integrity and Load-Bearing Requirements
- How to Add Value to Home Through Strategic Addition Planning
- Visualizing Utility Relocation and Site Logistics
- Refine Your Visualization and Move Forward
- Frequently Asked Questions
Assess Your Current Property and Define Project Scope
Before visualizing home structural additions, document your current property’s existing conditions: age, square footage, roof pitch, exterior materials, and foundation type. Walk through your home with a measuring tape and record room dimensions, ceiling heights, window locations, and door placements. Note any structural quirks like uneven floors or sloped ceilings, as these directly impact how an addition will connect.
Define your project scope with specificity. Are you adding a second story, a side addition, or expanding a single room? Do you need to relocate utilities like HVAC, electrical, or plumbing? Understanding these details before visualization prevents costly mid-project surprises.
Consider building codes and zoning regulations early. Setback requirements, height restrictions, and lot coverage limits vary by jurisdiction. Check with your local building department to understand what’s permitted on your property before investing in detailed design work.
Document your home’s existing conditions with photos and measurements. This foundation data becomes the basis for every visualization tool you use later. Contractors like Remodeling Pros use this information to ensure your 3D renderings accurately reflect your actual property.
Create a Detailed Floor Plan for Your Addition
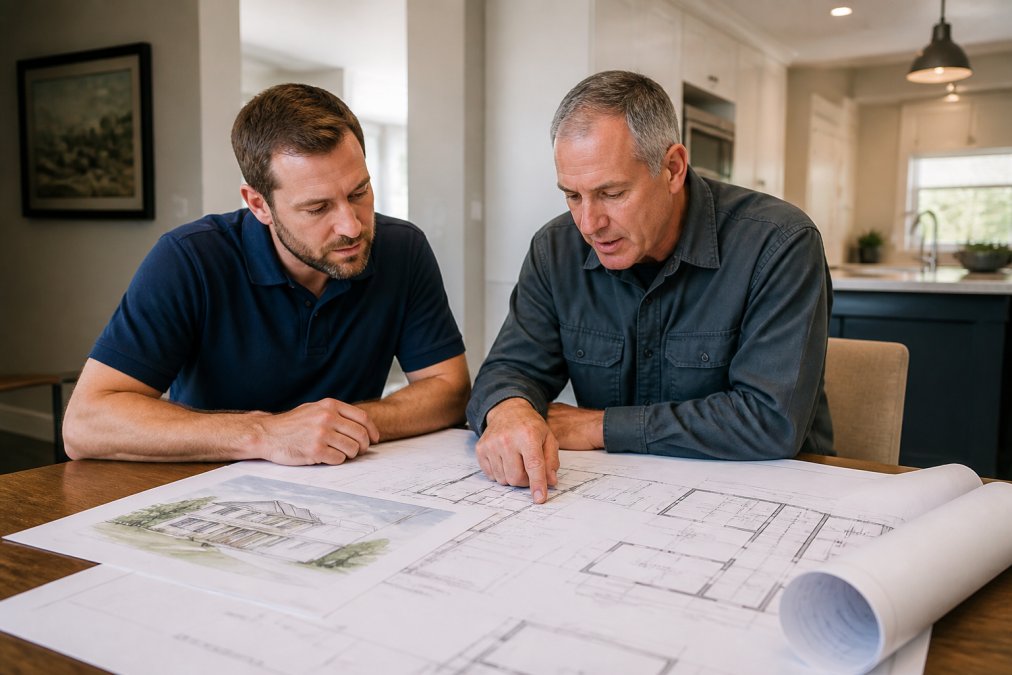
A detailed floor plan bridges your vision and visualization. It should show how the addition connects to your existing structure, where doors and windows will be positioned, and how traffic flows through both spaces.
Start with a measured drawing of your current floor plan, including all walls, doors, windows, and permanent fixtures. Then overlay your proposed addition, noting the attachment point and connection details. Your floor plan must account for load-bearing walls, which carry structural weight and cannot be removed without support. Non-load-bearing walls are partition walls that divide space without carrying load.
Include utility locations on your floor plan: electrical panels, plumbing lines, HVAC ducts, and gas lines. An addition often requires relocating these systems. Knowing where they are now tells you what conflicts you’ll face. Consider natural lighting in your floor plan, where will windows go and how will sunlight move through the space at different times of day?
A floor plan that ignores load-bearing walls, utility locations, or natural lighting will require redesign once construction starts. Spend time getting this right before moving to visualization.
Using Home Addition Design Software to Visualize Your Project
Home addition design software transforms your floor plan into something you can see and walk through. Two-dimensional tools like SketchUp Free or Floorplanner create accurate overhead views and are intuitive for understanding spatial relationships. Three-dimensional rendering software like SketchUp Pro, Chief Architect, or Home Designer Suite creates walkable 3D models where you can move through the space, adjust lighting, and change materials.
3D Rendering vs. Augmented Reality: Which Approach Works Best
3D rendering creates an interactive model on a computer screen, allowing you to navigate from any angle and in any lighting condition. This approach is detailed and accurate but removes you from the actual site.
Augmented Reality (AR) overlays a digital model onto your real property using your smartphone or tablet camera. You see the proposed addition superimposed on your actual structure, keeping you on-site and in context. AR is superior for understanding how an addition affects your property’s exterior aesthetics, you immediately see roof pitch relationships, how siding and trim match existing materials, and sight lines from the street. However, AR requires compatible hardware and accuracy depends on proper digital alignment.
DIY Software vs. Professional Design Tools
DIY software helps homeowners create visualizations without hiring a designer. The advantage is immediate iteration; the disadvantage is that DIY tools lack sophistication to handle complex structural realities. They’re excellent for exploring ideas but often produce visualizations that don’t account for load-bearing requirements or building codes.
Professional design software used by architects and contractors integrates structural rules and building codes. These tools won’t let you create something that violates load-bearing principles. Many homeowners benefit from a hybrid approach: use DIY software to explore concepts, then work with a professional to refine your vision into a buildable design. Remodeling Pros uses sophisticated 3D rendering to create visualizations that are both beautiful and structurally sound.
DIY visualizations often look great but ignore structural constraints. A design that looks perfect in free software might be impossible to build. Always have a professional review your visualization before committing to it.
Navigate the Home Addition Permitting Process
Visualization helps you design, but permits ensure your design is legal. Building permits protect safety, structural integrity, and neighborhood standards. Your local building department reviews your addition design against zoning codes, building codes, and neighborhood guidelines, checking setback distances, height restrictions, lot coverage limits, and architectural compatibility.
The permitting process typically requires detailed construction drawings, site plans, and sometimes architectural renderings. Professional renderings and floor plans accelerate permitting because they clearly communicate your design intent to reviewers. Building codes specify structural requirements for your addition, including foundation requirements, roof pitch minimums, wall framing standards, and load-bearing specifications (iccsafe.org).
Homeowners planning mid-range additions in the $40,000 to $100,000 range who want to understand permitting requirements before hiring a contractor.
Evaluate Structural Integrity and Load-Bearing Requirements
Structural integrity is non-negotiable. Your addition must safely support its own weight and transfer that load through the foundation to the ground. Load-bearing walls carry vertical weight from the roof or upper floors and must sit on a continuous foundation. If your addition attaches to an existing load-bearing wall, that wall must be reinforced or the load must be transferred using a structural beam.
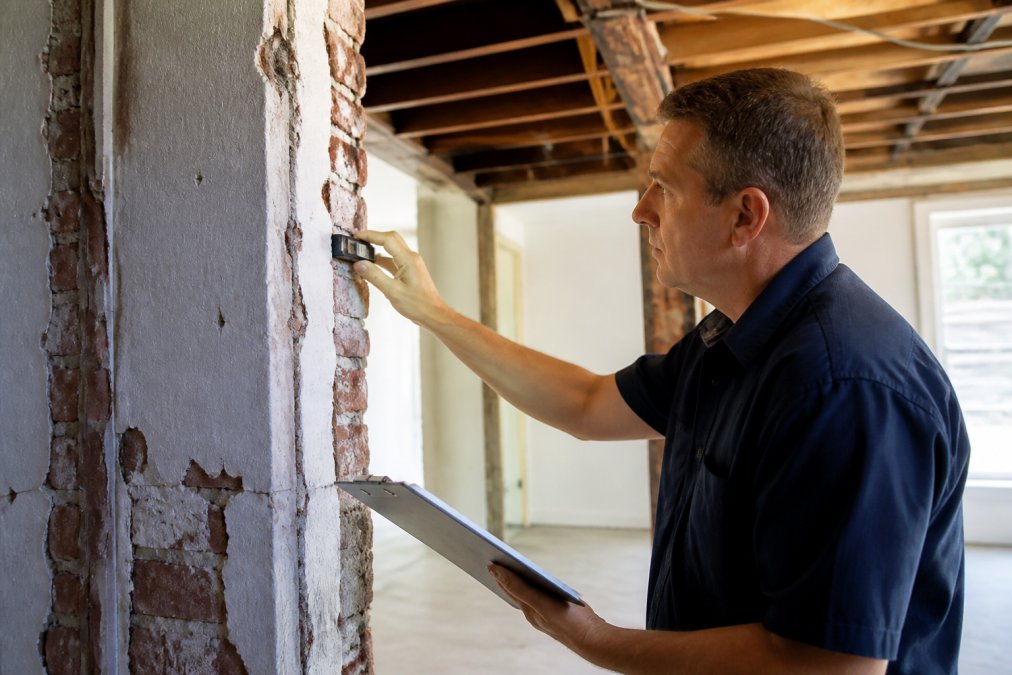
Non-load-bearing walls are partition walls you can remove or relocate more easily. Understanding which walls are load-bearing is critical before visualization. Attachment points matter, where your addition connects to your existing structure, the connection must be engineered for both vertical and lateral loads including wind, seismic forces, and snow loads.
Foundation requirements depend on soil conditions, climate, and the weight of your addition. Your addition’s foundation must sit below the frost line, the depth to which ground freezes in winter (the CDC). Frost line depth varies by region; check with your building department for your specific location.
How to Add Value to Home Through Strategic Addition Planning
Not all additions add proportional value. Understanding what adds value guides your visualization and design decisions. Kitchen and bathroom additions consistently return strong value because these rooms are expensive to renovate and heavily influence buyer perception. A well-designed kitchen addition typically returns 60-80% of its cost in home value (realtor.org).
Bedroom additions return moderate value, a fourth bedroom in a three-bedroom market adds value, but a fifth bedroom might not. Understand your local real estate market and what’s in demand. Open-concept living spaces add value in most markets by creating a sense of spaciousness. Outdoor living spaces like decks and patios add value but typically return 50-75% of their cost.
The worst additions are those that don’t match the home’s character. A modern addition on a 1920s bungalow looks incongruous. Matching roof pitch, exterior materials, window styles, and architectural details ensures your addition feels like part of the original home. This is where visualization is invaluable, you can experiment with different exterior aesthetics before building.
Visualizing Utility Relocation and Site Logistics
Utilities complicate visualizations but must be addressed. Most homes have electrical service, gas lines, water supply, sewer or septic, and HVAC systems. An addition often requires relocating some or all of these.
Electrical service location matters, if your addition is far from the electrical panel, you might need to upgrade the panel or run new circuits a long distance. Gas lines might need relocation, which requires a licensed professional and permits. Water supply and sewer lines are often buried and harder to relocate. Before visualization, confirm where these lines run on your property. HVAC ductwork needs to extend into your addition, and if your existing system is undersized, you might need a larger system.
Utility relocation is expensive and disruptive. It should influence your visualization and floor plan decisions. Sometimes, a slightly different addition layout avoids utility relocation entirely, saving tens of thousands of dollars.
Refine Your Visualization and Move Forward
After creating your visualization, evaluate it against your priorities. Does it solve the problems you identified at the start? Does it match your budget constraints? Does it add value to your home?
Share your visualization with family members who will live in the space. Walk through the 3D model together and discuss sight lines, natural lighting, and spatial flow. Once you’re confident in your visualization, have a professional review it. A structural engineer can confirm load-bearing requirements are met. An architect can verify building code compliance. A contractor like Remodeling Pros can assess constructability and identify potential challenges.
Your visualization transforms from concept to reality as it becomes the basis for construction drawings and blueprints.
Visualizing home structural additions is the most important step before committing to construction. A clear visualization prevents costly design changes mid-project, ensures structural feasibility, and helps you understand what you’re actually building. Professional visualization tools combined with expert guidance ensure your addition is both beautiful and buildable. At Remodeling Pros, we use sophisticated 3D rendering and design technology to help homeowners see their additions before construction begins. Our team reviews structural requirements, building codes, and site logistics to ensure your visualization is grounded in construction reality. Get a quote today and see your addition come to life before we break ground.
| Visualization Approach | Best For | Accuracy | Learning Curve |
|---|---|---|---|
| 2D Floor Plan Software | Understanding spatial relationships | Moderate | Easy |
| 3D Rendering (Desktop) | Detailed interior design | High | Moderate |
| Augmented Reality | Seeing addition in context | High | Easy |
| Professional Design Software | Structural and code compliance | Very High | Steep |
Frequently Asked Questions
Do I need an architect to visualize a home addition?
Not necessarily. Many homeowners start with home addition design software to explore ideas themselves. However, a professional architect or designer brings expertise in structural integrity, building codes, and cost-to-value decisions that DIY tools may miss. For complex structural additions, professional design guidance ensures your visualization translates to a buildable, code-compliant project.
How do 3D renderings help in the home addition permitting process?
3D renderings provide building inspectors and permitting officials with clear elevation drawings, floor plans, and spatial layouts that demonstrate how your addition meets building codes and zoning regulations. Detailed visualizations speed up permit approval by showing structural attachment points, roof pitch alignment, and how the addition integrates with your existing foundation. They reduce back-and-forth revisions and help officials assess whether your project maintains proper setbacks and property line compliance.
What’s the difference between AR visualization and static 3D rendering for home additions?
Augmented Reality (AR) overlays your addition directly onto your actual property in real-time using your smartphone, showing you exactly how it will look from your backyard or street. Static 3D rendering generates high-quality images from specific angles but doesn’t interact with your real environment. AR is better for seeing scale and aesthetics in context; 3D rendering is superior for detailed architectural presentations to contractors and permitting officials.
What structural factors should I visualize before committing to an addition?
Your visualization must address load-bearing walls, foundation requirements, roof pitch compatibility, attachment points where the addition connects to your existing structure, and how utilities will be relocated. These factors directly impact construction feasibility and cost. Professional visualization tools and structural assessments ensure your design accounts for these critical elements before you commit to the project, preventing costly surprises during construction.