Table of Contents
- Step 1: Define Your Structural Remodel Scope and Get Architectural Plans
- Step 2: Understand the Structural Engineer vs General Contractor Difference
- Step 3: Verify Licensing, Insurance, and Structural Engineering Credentials
- Step 4: Questions to Ask a Remodeling Contractor Before You Sign
- Step 5: Compare Bids, Contracts, and Payment Schedules
- Step 6: Contractor Red Flags That Signal Trouble Ahead
- Step 7: Plan for Your Structural Renovation Timeline and Change Orders
- Conclusion: Choosing the Right Partner for Your Structural Remodel
- Frequently Asked Questions
Last Updated: October 2, 2026
Step 1: Define Your Structural Remodel Scope and Get Architectural Plans
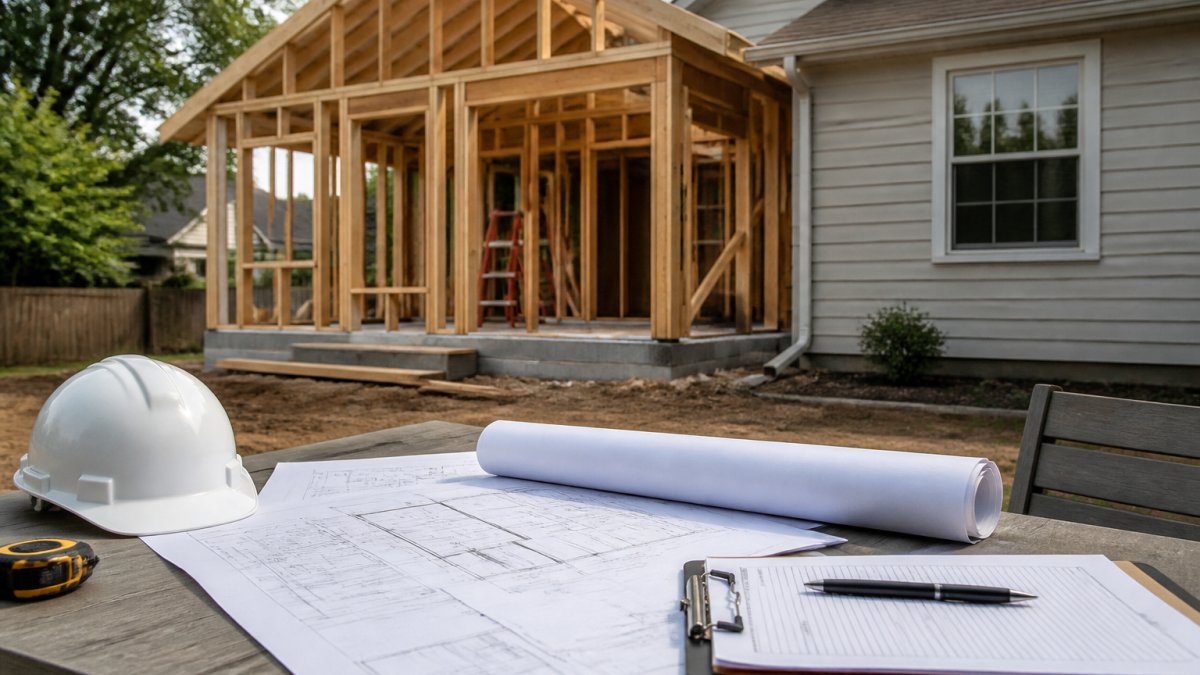
A structural remodel changes your home’s load-bearing elements: wall removal, beam installation, or foundation work. Hiring a contractor starts with a clear scope and stamped drawings, without them, every bid is guesswork.
The scope defines what gets built. The drawings show how it stands up.
Start with a written wish list:
- Rooms affected and how you’ll use them
- Walls, floors, or rooflines that change
- Fixtures, finishes, and rough openings
- A realistic renovation budget with a contingency line
Why Load-Bearing Wall Removal Requires Engineered Drawings
Load-bearing walls carry the weight above them. Remove one without a plan and you risk sagging floors, cracked drywall, or collapse.
An engineer calculates the new load path and specifies the beam or header replacing the wall. That stamped calculation goes with your permit application, codes require it and inspectors check for it.
Skipping engineered drawings to save time is the most expensive shortcut in remodeling. If a wall comes down without a stamped plan, your inspector can stop work, and you may pay to rebuild what you removed.
Step 2: Understand the Structural Engineer vs General Contractor Difference
A structural engineer designs and stamps the load calculations. A general contractor builds to those plans, pulls permits, and manages trades. Confusing the roles costs homeowners time.
The engineer answers “will this hold?” The contractor answers “who builds it, when, and for how much?”
Some contractors employ in-house engineers; most don’t. If yours doesn’t, hire the engineer separately, before bidding starts.
The American Society of Civil Engineers maintains the standards engineers use for structural design. Ask any engineer you hire which codes they follow.
Design-Build vs General Contractor Models
Design-build firms handle design and construction under one contract, faster, but with less independent review. The traditional route splits the work: hire an engineer or architect, then bid the build, slower, but more cost control. Match the model to your project’s complexity.
Step 3: Verify Licensing, Insurance, and Structural Engineering Credentials
A licensed contractor holds a current state or local license, carries general liability insurance, and provides workers compensation coverage. Verify all three before signing, it takes 30 minutes and protects you from years of problems.
Here’s how to check:
- Look up the license number on your state’s licensing board website
- Ask for a certificate of insurance and call the insurer to confirm it’s active
- Confirm workers compensation covers every crew member who enters your home
- Check the engineer’s PE stamp and state registration
An uninsured worker injured on your property can file a claim against your homeowner’s policy, that’s why this step matters.
How to Check a Contractor’s License and Insurance
Request the license number and insurance certificates in writing. Then verify them yourself. Don’t accept a photocopy as proof, because policies lapse and licenses expire.
The U.S. Occupational Safety and Health Administration sets the job-site safety rules your contractor should follow. A contractor who can’t produce coverage documents likely isn’t following them.
Step 4: Questions to Ask a Remodeling Contractor Before You Sign
The right questions separate experienced structural contractors from general handymen. Ask them before comparing bids, not after.
- Have you completed structural remodels like mine? Show me three.
- Who is your structural engineer, and who pays for the stamp?
- How do you handle change orders and who approves them?
- What’s your payment schedule tied to? Milestones or calendar dates?
- Who manages subcontractors and inspections?
- How will you protect my home during construction?
Listen for specifics. Vague answers about “handling it” signal trouble. A good contractor names people, timelines, and processes.
Ask each contractor the same questions in the same order. Comparing answers side by side reveals more than any single response.
Step 5: Compare Bids, Contracts, and Payment Schedules
Compare bids line by line, not by the bottom number. A low bid often hides missing items like permits, engineering, or debris removal. Those gaps become change orders later.
Structural remodels carry line items cosmetic renovations never see. If a bid is missing any of these, the contractor either doesn’t understand structural work or plans to bill you later:
- Structural engineering fees, the cost of the stamped drawings and any field observation the engineer performs during construction. Ask whether the engineer’s fee is a fixed price or hourly, and who pays for re-inspections if the first one fails.
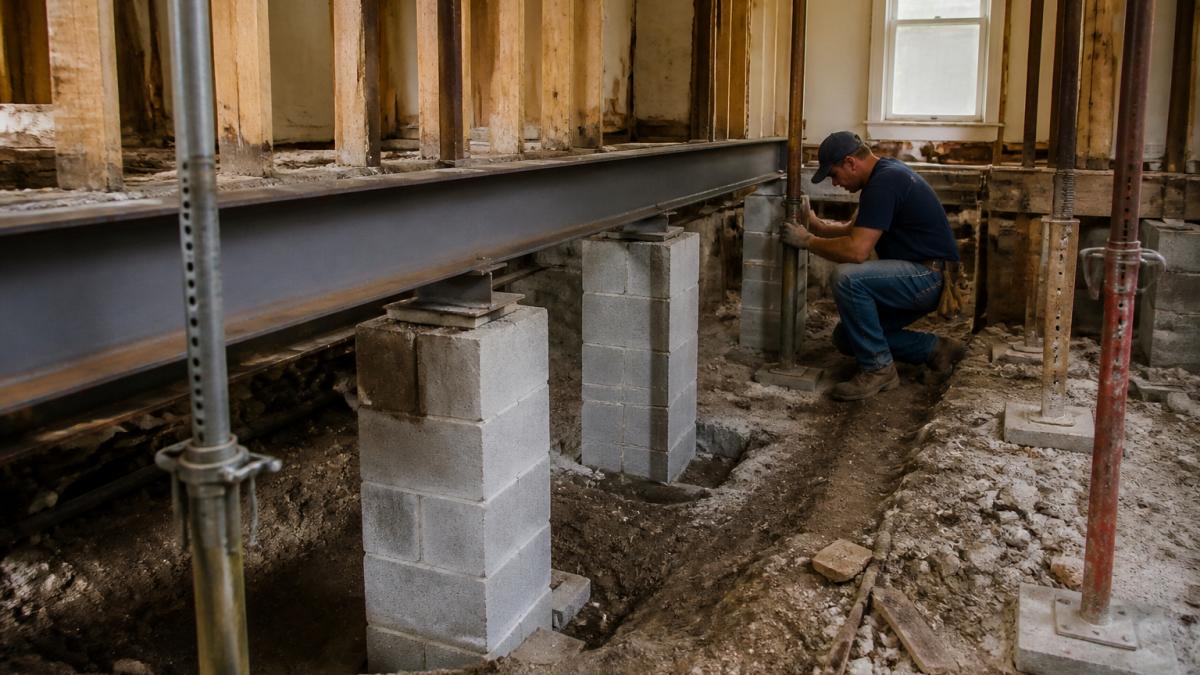
- Temporary shoring and bracing, the posts, beams, and jacks that hold the structure up while the load path is being changed. This is a real line item, not a rounding error, and it should never be listed as “miscellaneous.”
- Special inspections, many jurisdictions require a third-party special inspector (separate from the municipal inspector) to verify structural welds, bolted connections, and concrete placement. The contractor should name the inspection agency and list the fee.
- Permit fees and plan review, listed as a separate cost, with the jurisdiction named. “Included” with no detail is a red flag because permit fees for structural work vary widely by scope and by city.
- Debris removal and dumpster, structural demolition produces heavy debris (concrete, framing lumber, plaster) that costs more to haul than finish materials.
- Re-inspection and correction allowance, a small contingency line for fixing items an inspector flags. Contractors who have done structural work before will include this; contractors who haven’t will not.
| Bid Element | What to Check | Red Flag |
|---|---|---|
| Scope of work | Matches your stamped drawings exactly, including beam sizes and connection details | Vague or missing line items; “per plan” with no plan attached |
| Engineering fees | Named engineer, fixed or hourly rate, scope of field observation | “Engineering included” with no name or scope |
| Shoring and bracing | Separate line item with method described | Bundled into “general conditions” or omitted |
| Special inspections | Named agency, fee listed, scope defined | Not mentioned at all |
| Permit fees | Listed separately, jurisdiction named | “Included” with no detail |
| Payment schedule | Tied to project milestones you can verify | Large upfront deposit; payment on calendar dates |
| Change order process | Written, signed, priced before work starts | Verbal approvals only |
| Timeline | Start and finish dates, with inspection windows noted | Open-ended completion |
| Lien waiver schedule | Conditional waivers with each draw | No mention of waivers |
Your written contract should name the payment schedule, scope, timeline, and change order process. Never pay a large sum upfront. Tie payments to milestones you can see, and to lien waivers you’ve collected (see Step 7).
A bid that is 20% below the others is not a bargain on a structural remodel. The missing 20% is usually engineering, shoring, or special inspections, the three items most likely to stop your job mid-demolition if they aren’t funded.
How to Read a Structural Bid Without Getting Burned
Ask each contractor to break the bid into four buckets: design and engineering, structural construction, finishes, and contingency. When every bid uses the same buckets, you can compare apples to apples.
The lowest bid often has the smallest contingency line, not thrift, but a signal the contractor expects to recover the difference through change orders once the walls are open.
Step 6: Contractor Red Flags That Signal Trouble Ahead
Contractor red flags show up early if you know what to look for. The biggest is pressure: a contractor who demands a decision today, or cash only, is telling you something.
Watch for these:
- No physical address or verifiable license
- Requests for large upfront cash payments
- No written contract or refusal to itemize
- Unwillingness to provide references
- High-pressure sales tactics or “today only” pricing
- No workers compensation or liability coverage
One red flag might be a misunderstanding. Two or more should end the conversation.
Step 7: Plan for Your Structural Renovation Timeline and Change Orders
A structural renovation timeline runs longer than a cosmetic remodel because of engineering, permitting, and inspections. Plan for the extra steps, and build slack into your schedule.
Typical sequence:
- Design and engineering (weeks)
- Permit review and approval
- Demolition and temporary shoring
- Structural work and inspections
- Rough-in, finishes, and final inspection
Change orders are the other timeline risk. Every change after signing adds cost and days. Approve them in writing, with a price, before work starts.
Why Structural Change Orders Are Different
In a cosmetic remodel, a change order usually means the homeowner changed their mind, a different tile, a moved outlet. In a structural remodel, most change orders come from the building itself: once the drywall is off, the contractor can see rot, undersized framing, a cracked foundation, or unpermitted work. None of that was visible at bid time.
That reality changes how you should manage change orders:
- Expect them. A structural remodel with zero change orders is rare. Budget a contingency of 10-20% of the contract value specifically for structural surprises, separate from your finishes budget.
- Require written, priced change orders before work proceeds. No verbal approvals, no “we’ll settle up at the end.” Each change order should state the scope, the price, the added days, and how it affects the inspection schedule.
- Distinguish owner-requested from condition-driven changes. Condition-driven changes (rot, hidden damage) are usually legitimate. Owner-requested changes are optional, you can say no.
- Ask for the engineer’s sign-off when a change affects the load path. If a beam size changes, a connection detail changes, or a new opening is added, the stamped drawings need to be revised and re-submitted. That is a real cost and a real delay; build it into the change order.
- Watch for change orders that re-do work already paid for. If the contractor removed a wall before confirming the beam size, that is their sequencing error, not your cost.
Ask each contractor at bid time: “What is your process when you open a wall and find something the drawings didn’t show?” The answer tells you whether they plan for structural surprises or plan to bill you for them.
Managing Change Orders and Lien Waivers During Construction
A mechanic’s lien lets subcontractors and suppliers claim your property if they aren’t paid.
Protect yourself by collecting lien waivers from every subcontractor and supplier as work progresses, not just at the end.
Two kinds of waivers, two moments to collect them:
- Conditional waiver, signed with each payment. It says the sub or supplier waives lien rights once the check clears. Collect one from every sub and material supplier before you release each draw.
- Unconditional waiver, signed after the payment has cleared. It says the sub or supplier waives lien rights with no conditions. Collect these at the end of each sub’s scope and again at final payment.
A practical waiver routine:
- Before the first draw, ask your contractor for a list of every sub and supplier who will work on the job, with contact information.
- With each payment, request conditional waivers from every party on that list who has performed work or delivered materials to date.
- After the check clears, request unconditional waivers for the same parties.
- Keep every signed waiver in one folder, organized by draw date.
- Before final payment, require a final unconditional waiver from the general contractor and every remaining sub and supplier.
If a sub or supplier refuses to sign a waiver, that is a signal they have not been paid, and a signal to withhold your next draw until the contractor resolves it.
Lien waivers and written change orders are the two documents that protect your money during a structural remodel. Collect both, every time, and never release a draw without a conditional waiver in hand.
Post-Structural Inspection Checklist
Before the drywall goes back up, walk the job with your contractor and, if possible, your engineer. Once finishes cover the work, correcting a problem costs several times more. Use this checklist:
- Stamped drawings on site, the approved set, with any revisions, is available to the inspector.
- Beam and header sizes, match the stamped drawings. Measure, don’t eyeball.
- Connections, hangers, straps, bolts, and welds are installed per the drawings, not “close enough.”
- Shoring removed only after permanent support is in place, temporary posts should not be carrying load once the beam is set and connected.
- Special inspection reports, signed reports for welds, bolted connections, and concrete are on file.
- Municipal inspection sign-off, the framing or structural inspection has passed and is documented.
- No cut or notched structural members, plumbers and electricians sometimes notch a beam or joist for a pipe or wire. That is a structural defect and must be corrected before close-up.
- Load path continuity, the new beam transfers load to posts, and the posts transfer load to footings. Ask the engineer to confirm the full path.
- Photographs of every connection and concealed condition, take them yourself. They are your record if a problem appears later.
If any item on this list is unresolved, do not authorize drywall. The cost of a one-week delay is almost always less than the cost of reopening a finished wall.
Conclusion: Choosing the Right Partner for Your Structural Remodel
Structural work rewards patience and punishes shortcuts. Verify credentials, compare bids honestly, and keep every change in writing.
When you’re ready to move, Remodeling Pros brings sophisticated 3D design so you can see the project before we build it. Our Last Day Breakthrough system keeps your original structure intact until the final moment, so your family keeps full use of your home during construction.
Get a Quote from Remodeling Pros and start your structural remodel with a team that plans every step.
Frequently Asked Questions
What counts as a structural remodel?
A structural remodel changes your home’s load-bearing elements, including removing or moving walls, adding square footage, reinforcing floor joists, or altering the foundation. Cosmetic updates like new cabinets or paint do not qualify. Any project touching structural integrity requires building permits and often an engineer’s stamped drawings before work begins.
What are red flags when hiring a contractor for a structural remodel?
Watch for contractors who demand large upfront payments, refuse to provide a written contract, lack a state license or general liability insurance, or cannot produce references for similar structural projects. Other warning signs include vague timelines, no permit history, and pressure to skip engineering or inspections on load-bearing work.
How do I verify a contractor’s structural engineering credentials?
Check the contractor’s license through your state’s licensing board and confirm general liability insurance and workers compensation coverage directly with the insurer. For the engineering side, ask for the name and license number of the structural engineer who will stamp your drawings, then verify that license independently.
How should I structure a payment schedule for a major structural project?
Tie payments to project milestones rather than calendar dates. A common approach is a modest deposit, then installments after demolition, framing, rough-in inspections, and final walkthrough. Always hold a final payment until you receive lien waivers from subcontractors and the work passes inspection.