Last Updated: November 8, 2026
Quick Summary
To blend a new addition with an existing house, match the roof pitch, eave height, overhang depth, trim profile, and window head heights, because repetition makes the addition read as original. Good exterior design starts with measuring and photographing the existing facade before drawing anything. Where an exact match is impossible, make the contrast deliberate on a clearly defined volume.
- Measure roof pitch, eave height, siding exposure, and trim profile before you sketch anything.
- Match trim width and depth, gable pitch, and window casing to existing motifs.
- If your roof is 6:12, a 4:12 addition will look flat beside it.
- Keep the addition’s ridge line at or below the main ridge.
- Plan roof-to-wall flashing and a continuous house wrap before finishes.
Table of Contents
- Start With an Exterior Design Audit and Measurement Checklist
- Home Addition Exterior Design Ideas That Read as One House
- Matching Siding on a Home Addition When Materials Are Discontinued
- Home Addition Roofline Design: Pitch, Eaves, and Gables
- Coordinating Exterior Colors, Finishes, and Proportions
- Visualizing a Home Addition Exterior Before You Build
- Transitions, Weatherproofing, and Matching vs. Contrasting Budgets
- Get a Quote and Plan Your Addition With Remodeling Pros
- Frequently Asked Questions
Start With an Exterior Design Audit and Measurement Checklist
Most homeowners start an addition by picking a paint color. That’s backwards. The exterior design of a home addition succeeds or fails on measurements you take before a single line is drawn.
The projects that blend best are the ones where the homeowner showed up with a tape measure and photos, not a Pinterest board.
Here’s what to capture before you sketch anything:
- Roof pitch on every visible slope, measured as rise over run
- Eave height from grade to the underside of the soffit
- Window head and sill heights on the facade you’re extending
- Siding exposure in inches, the visible width of each course
- Trim width and profile at corners, fascia, and window casing
- Brick or stone coursing height and mortar joint width
- Overhang depth at gables and eaves
- Existing paint colors matched to physical samples, not screens
What to Measure Before You Draw Anything
Write every number down and photograph each facade straight-on with a ruler or tape in frame.
A common mistake is eyeballing window proportions. A window that looks square from the driveway may be 3:4, and a new window at 1:1 will read as wrong from the street even though nobody can say why.
Measure twice, photograph once, and keep the file. Your contractor and designer will both ask for it.
Home Addition Exterior Design Ideas That Read as One House
The fastest way to make an addition look original is repetition. Repeat the trim, repeat the gable shape, repeat the window rhythm. Your eye reads pattern as age.
Repeat Trim, Gables, and Window Styles
Pull three or four existing design motifs and carry them into the new construction:
- Same trim profile at corners and fascia
- Same gable pitch as the dominant roofline
- Same window casing width and head height
- Same porch column style and spacing, if you have a porch
Watch out: matching trim width but not trim depth is a common miss. A 1×4 that sits proud of the siding reads differently than a 1×4 set flush. Match both.
Matching Siding on a Home Addition When Materials Are Discontinued
Discontinued siding is normal, not a crisis.
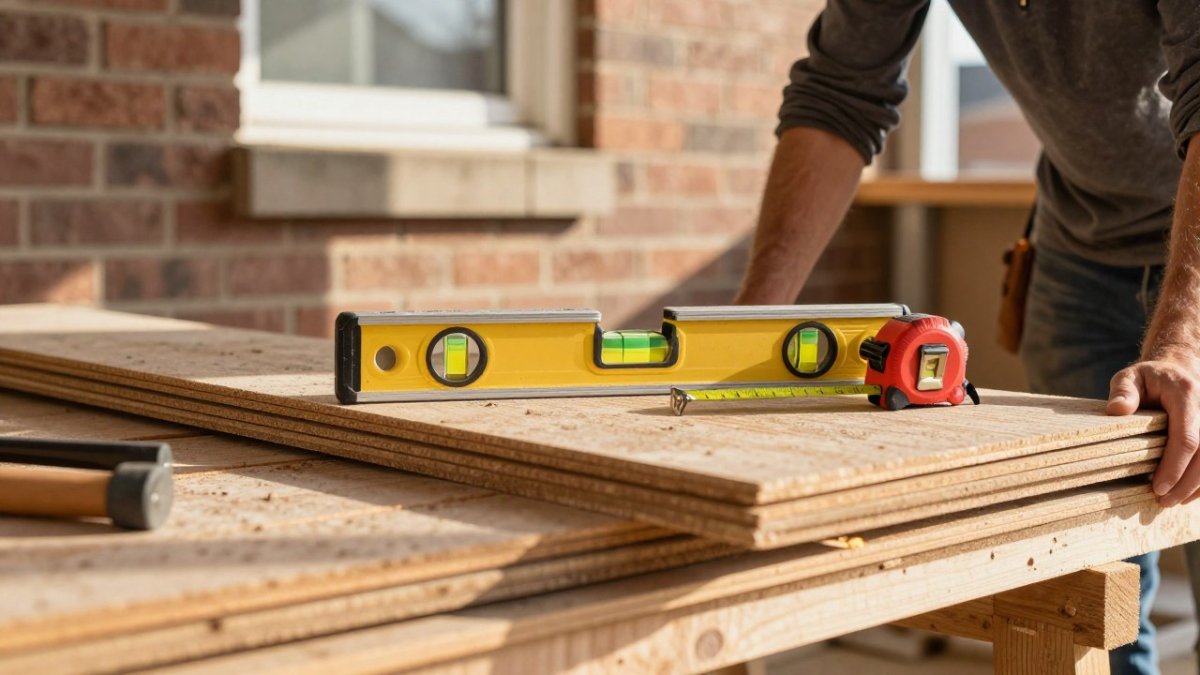
Start by identifying what you have. Remove a small piece of siding from an inconspicuous spot, such as behind a shrub or near a downspout, and take it to a lumberyard or siding supplier.
Your options, in order of visual fidelity:
- Find deadstock or salvage. Local building salvage yards and online marketplaces sometimes carry the exact profile. This is the highest-fidelity option and the least predictable, inventory changes weekly, so check early and buy the full quantity you need at once rather than piecemealing.
- Have a mill match the profile. Custom knives cost more but reproduce the original exactly. This is most practical for wood and fiber-cement profiles and least practical for vinyl, where tooling costs rarely pencil out for a single addition.
- Re-side the whole visible facade. Expensive, but it guarantees a match and is often the right call when the existing siding is near the end of its service life anyway.
- Use a compatible profile and accept the difference. Choose a similar exposure and texture so the mismatch reads as intentional rather than accidental. A different profile in the same color family usually reads better than the same profile in a slightly wrong color.
Weathered siding is the harder problem. Sun and rain fade fiber cement and wood unevenly, so new material of the same color will look brighter for a season or two.
When an exact match is impossible, make the contrast deliberate.
Watch out: don’t let a supplier talk you into a “close enough” profile based on a photograph. Color and texture can be judged from a photo; profile depth and exposure cannot. Always compare physical samples side by side on the wall.
Home Addition Roofline Design: Pitch, Eaves, and Gables
Roofline is where most additions give themselves away. A new gable at a shallower pitch than the original reads as an afterthought, even to people who can’t name what’s wrong.
Match these three numbers, and the addition will look like it was always there:
| Feature | What to Match | Why It Matters |
|---|---|---|
| Roof pitch | Rise over run of the main slope | Different pitches break the silhouette |
| Eave height | Grade to soffit underside | Uneven eaves look like a mistake |
| Overhang depth | Soffit projection at gable and eave | Shallow overhangs read as newer, cheaper construction |
If your existing roof is a 6:12 pitch, a 4:12 addition will look flat beside it. If you can’t match exactly, stay within one step and align the eave heights so the transition reads as deliberate.
Matching a roofline often means structural work at the tie-in, so it pays to understand how structural integrity is maintained during home additions before you commit to a plan.
Coordinating Exterior Colors, Finishes, and Proportions
Color is the easiest thing to get right and the easiest to overthink. Stick to the existing scheme unless you’re repainting the whole house.
- Pull the body color from the original siding
- Match the trim color exactly, or go one shade lighter
- Repeat the door and shutter colors on the addition
- Keep finish sheen consistent: flat on siding, satin on trim
Proportions matter just as much. A new wing that’s taller than the original house will dominate it no matter how well the colors match. Keep the addition’s ridge line at or below the main ridge, and keep window sizes in the same family as the existing ones.
Visualizing a Home Addition Exterior Before You Build
You can’t unbuild an addition. That’s why 3D design has become standard on serious projects.
At Remodeling Pros, we render the exterior from the street, the side yard, and the driveway before construction starts. Seeing the addition from each angle also makes it easier to judge how its siding color will sit against the existing exterior, a decision you can refine with EFER Renovations Inc.’s color guide.
As one client put it, Keith Sheets was “extremely cooperative in helping us understand the issues of exterior and interior construction.”
If you’re weighing whether renderings are worth it, it helps to understand the benefits of 3D home design before you commit to a plan.
Transitions, Weatherproofing, and Matching vs. Contrasting Budgets
The joint where new construction meets old is where water gets in, and it is also where an addition most often looks pasted on.
Sequence the tie-in in this order:
- Roof-to-wall flashing first. At the intersection where the new roof meets the existing wall, flashing must be lapped so water sheds over the lower material, not behind it. Step flashing is used where a roof slope meets a sidewall; counterflashing is set into a reglet cut into the masonry or siding above. Get this wrong and no amount of caulk will fix it.
- House wrap continuous across the tie-in. The weather-resistive barrier on the new walls should lap over the existing barrier in shingle fashion, upper over lower. Where the two barriers meet at a corner, tape the seam and stagger it away from the corner itself so the corner board covers it.
- Siding transition hidden behind a trim board where possible. A vertical trim board at the joint gives the siding a clean stopping point and hides the cut ends. This is the detail that most often separates a professional tie-in from a DIY one.
- Corner boards and trim returns. Carry the existing corner board width and depth across the new corner. A trim return, the short piece of trim that wraps a corner, should match the original in both width and projection.
- Gutter and downspout routing that doesn’t dump water on the new wall. Re-route downspouts so they discharge away from the tie-in, and extend splash blocks or buried drain lines far enough that water does not pool against the new foundation.
On budget, the honest trade-off is this: exact matching costs more than thoughtful contrasting, and the premium is concentrated in three places, custom-milled siding, salvaged or specially run brick, and a full-house repaint to bring the old facade up to the new material. A deliberate contrast, a different but compatible material, or a slightly different shade used on a clearly defined volume, can cost less and still look intentional, because the eye reads it as a design choice rather than a mismatch.
Where a close match is worth the added expense: the roofline, the trim profile at the tie-in, and the window head heights on the facade you are extending. Those three are visible from the street every day and are the hardest to change later.
Watch out: don’t let a contractor talk you into “close enough” on the roofline to save money. That’s the one place a mismatch is visible from the street every day, and correcting it after the fact means rebuilding the tie-in.
Get a Quote and Plan Your Addition With Remodeling Pros
The difference between an addition that looks original and one that looks bolted on comes down to planning, measurement, and a contractor who understands both.
Before you hire anyone, read up on the red flags when hiring a home addition contractor so you know what to ask. When you’re ready, you can browse vetted home addition contractors in Jacksonville and request a quote.
At Remodeling Pros, we’ve been building structural additions since 1998. Our Last Day Breakthrough system keeps your original structure intact until the final moment, so your family keeps full use of the home during construction.
We’re featured in a Redfin article. “Keith always responded quickly and thoroughly to my questions or concerns,” one homeowner wrote. “Highly recommend this contractor.”
Blending a new addition with your existing house exterior design isn’t about guessing. It’s about measuring what’s there and repeating it with care. Get the quote, see the renderings, and build once.
Frequently Asked Questions
Should a home addition match the original house or contrast with it?
Matching is the safer default when the original house has a clear architectural style you want to preserve. Contrast works when the addition is deliberately set back or separated, and when the new materials share proportions, roofline, and trim scale with the old ones. A cohesive contrast strategy still repeats window sizes, eave heights, and color families rather than introducing an unrelated style. Talk through both options with your designer before drawings are finalized.
How do you blend old and new siding on a house?
Start by identifying the existing siding profile, exposure width, and finish. If the exact product is discontinued, match the profile and exposure first, then match color second, since profile reads more strongly from the street. Where a true match is impossible, place the transition at an inside corner or a trim band so the eye reads it as intentional. A designer can show you how the seam will look before installation.
How can you make a new roofline work with an existing house?
Match the existing roof pitch wherever the new roof is visible from the street, and keep eave heights consistent so the two roofs read as one. Where pitches must differ, hide the change behind a gable, dormer, or lower secondary roof. Home addition roofline design is one of the first things neighbors and appraisers notice, so settle it in the concept stage rather than during framing.
Can 3D design really handle an older house with quirky structural issues?
Ask to see how the model handles the specific junction where the addition meets the original house, and confirm the design process with your contractor before committing.