Table of Contents
- What 3D Home Design Actually Changes About Your Project
- 1. See the Finished Space Before Any Wall Comes Down
- 2. The 3D Architectural Rendering Benefits That Cut Change Orders
- 3. Better Budget Control and Cost Optimization
- 4. Faster Timelines Through Clash Detection and Error Mitigation
- 5. Understanding the Cost of 3D Home Design Services
- 6. How to Plan a Home Addition With 3D Tools
- 7. What 3D Home Design Can’t Do (And Common Mistakes to Avoid)
- Frequently Asked Questions
Last Updated: September 17, 2026
What 3D Home Design Actually Changes About Your Project
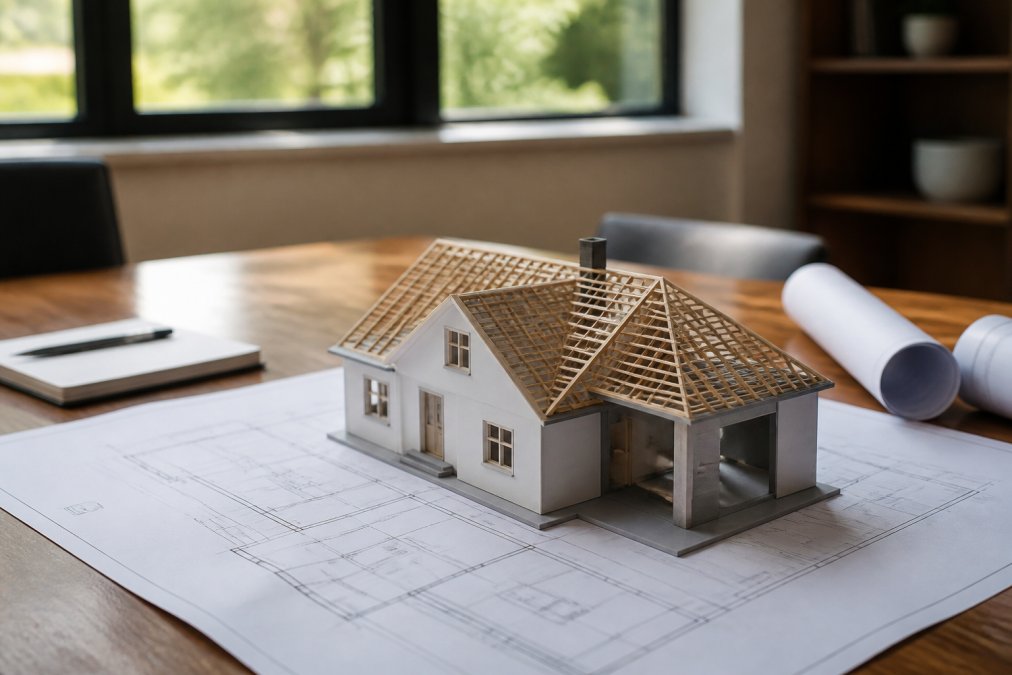
3D home design is the practice of building a complete digital model of a house or addition before any physical work begins. Instead of reading flat blueprints, you walk through a virtual version of the finished space. At Remodeling Pros, we use this approach on every structural project because it turns guesswork into decisions you can actually see.
The technology splits into two very different camps, and mixing them up causes real confusion.
Software Versus Hardware: Two Different Technologies
Design software builds a digital model on a screen. Construction hardware, like 3D printing, builds a physical structure layer by layer. Most homeowners need the first one. The second is still rare in residential work and mostly limited to small structures.
This guide covers the software side: the tools that help you plan, visualize, and approve a renovation before demolition starts. The National Institute of Standards and Technology publishes useful background on how digital modeling improves construction accuracy.
1. See the Finished Space Before Any Wall Comes Down
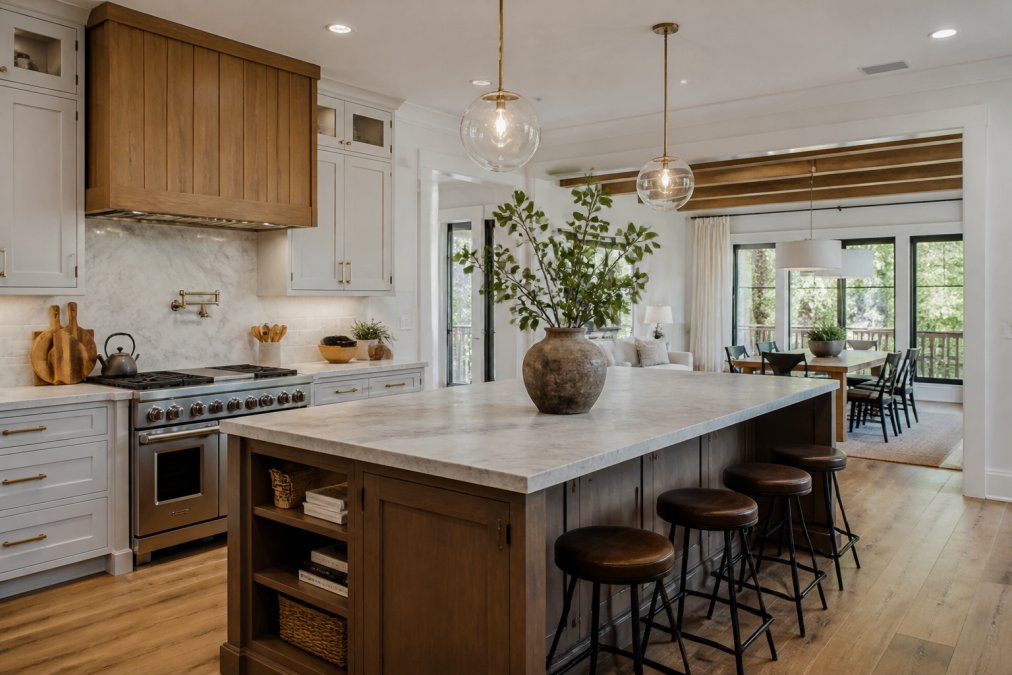
The single biggest benefit is certainty. You see the addition, the new kitchen, or the reworked layout while it still exists only as pixels.
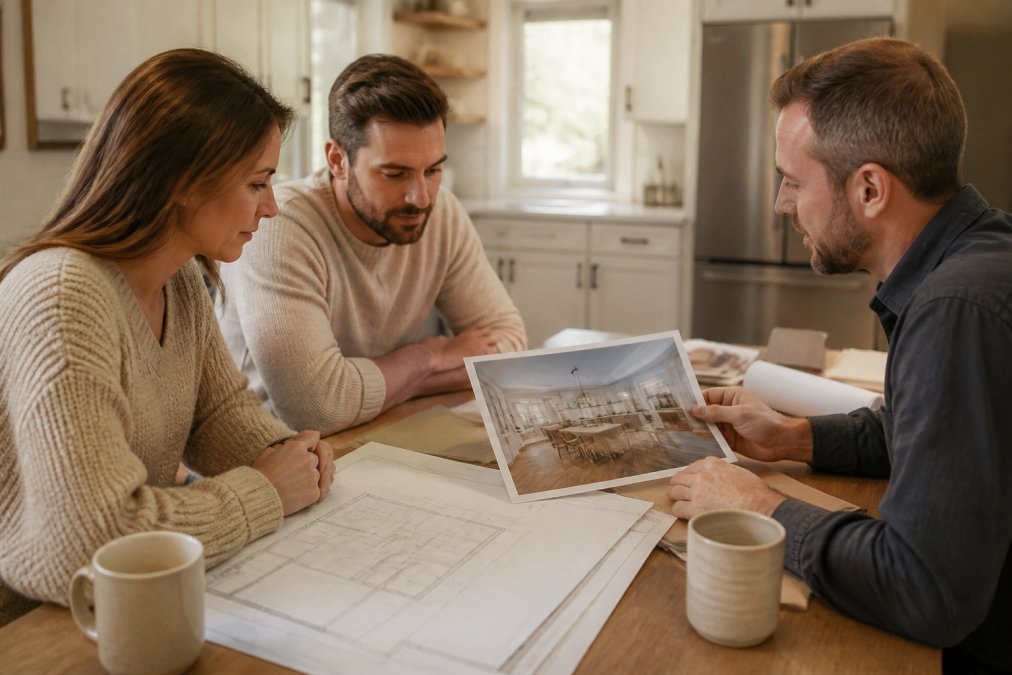
That changes the conversation. Instead of imagining how a 12-foot opening will feel, you look at it. You can ask for a wider window, a different cabinet run, or a shifted doorway before anyone orders materials.
A common mistake is treating the first render as final.
2. The 3D Architectural Rendering Benefits That Cut Change Orders
The 3D architectural rendering benefits show up most clearly in change orders. A change order is any modification to the original scope after work begins, and it is where budgets quietly fall apart.
- Homeowners catch design issues early
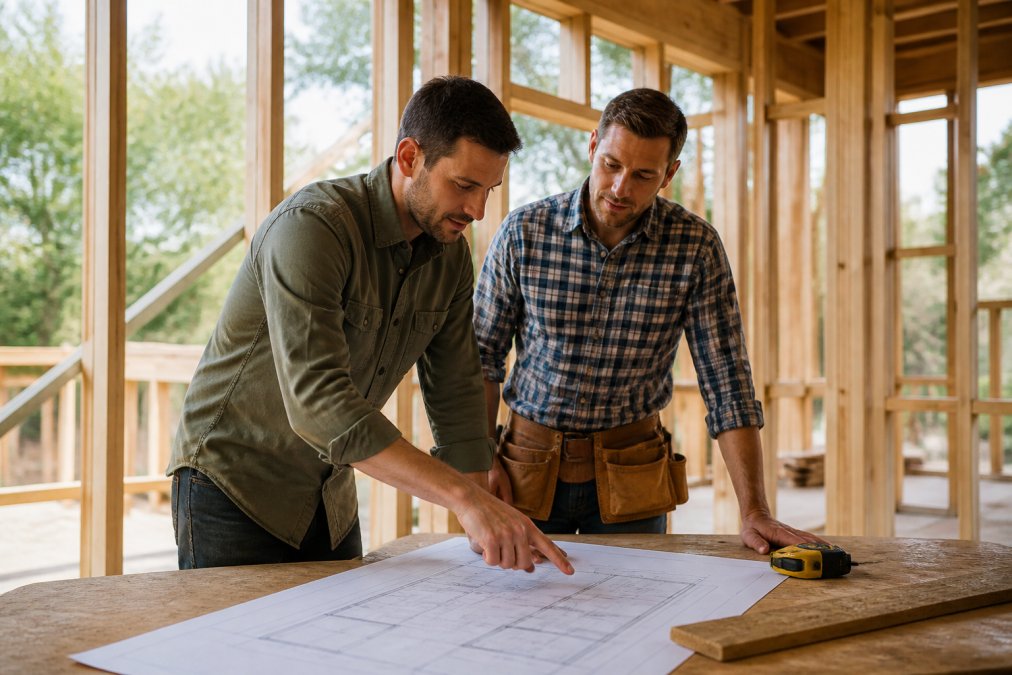
- Contractors spot build conflicts before framing
- Material lists come straight from the model
- Approvals happen faster with visual proof
Ask your designer for a walkthrough video, not just still images. Motion reveals awkward sightlines and tight corners that a single render hides.
3. Better Budget Control and Cost Optimization
Cost optimization starts with accurate quantities. A digital model counts materials automatically, so your estimate reflects the actual design rather than a rough guess.
| Stage | What You Decide | Why It Matters |
|---|---|---|
| Concept | Layout and size | Sets the budget ceiling |
| Design | Finishes and fixtures | Locks material costs |
| Pre-build | Final model review | Prevents change orders |
| Build | On-site adjustments | Kept to a minimum |
4. Faster Timelines Through Clash Detection and Error Mitigation
Clash detection finds conflicts in the model before they become problems on site. A duct running through a planned beam, a door swinging into a cabinet: software catches these in seconds.
5. Understanding the Cost of 3D Home Design Services
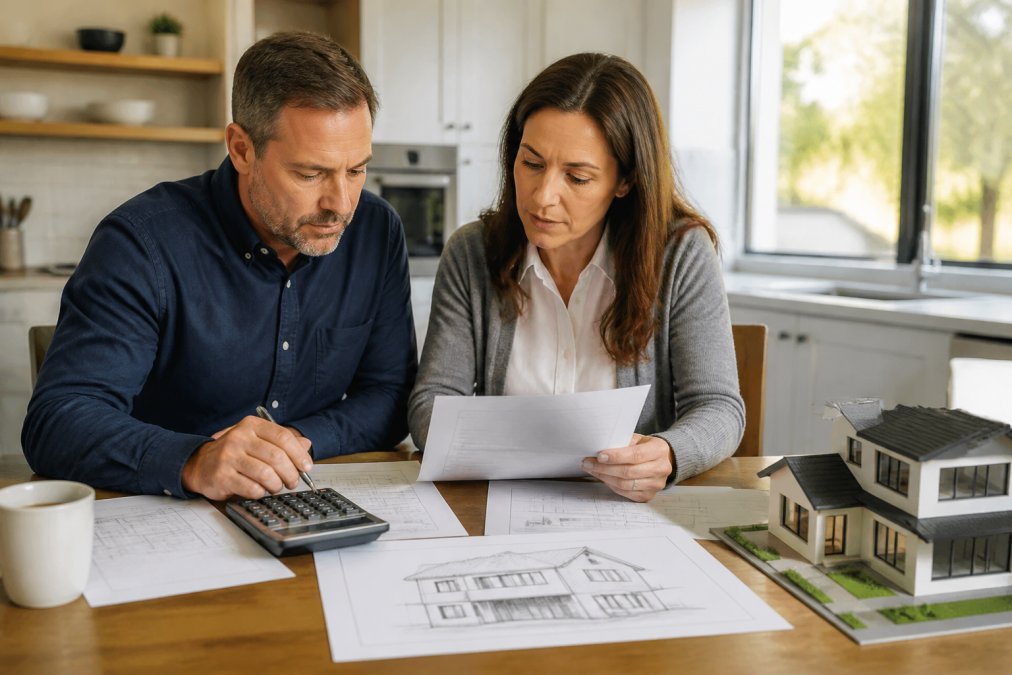
The cost of 3D home design services depends on project size, detail level, and how many revisions you request. A simple room addition needs far less modeling than a full second story. But the more useful question is not “what does it cost”, it is “how is it billed, and what does it save?”
How Design Fees Are Usually Structured
Most residential work falls into one of three billing models:
- Percentage of construction cost. A common pattern is a design fee calculated as a percentage of the total build budget (Calculating the architect’s fee: Is there a better way?). The more complex the build, the higher the fee, because modeling effort scales with it.
- Flat fee per project. Common for additions and single-room remodels where scope is well defined up front. Easier to compare across designers, but change requests may be billed separately.
- Hourly or per-revision. Used when the scope is genuinely unknown at the start. Flexible, but it puts the risk of scope creep on you.
What Actually Drives the Price
Four variables move the number more than anything else:
- Square footage modeled. A 400-square-foot addition is a fraction of the modeling work of a 2,000-square-foot whole-home redesign.
- Level of detail. A massing model that shows walls and rooflines is far less work than a model with cabinetry, trim profiles, lighting, and finish schedules.
- Revision rounds. Most designers include a set number of revision rounds and bill beyond that. Know the number before you start.
- Existing-condition modeling. Measuring and modeling an older home, especially one with prior unpermitted work, takes longer than modeling new construction from clean plans.
The Offset: Where the Fee Comes Back
Design fees are not pure overhead. The model produces a material takeoff, which means quantities are counted from the actual design rather than estimated from blueprints. That reduces over-ordering and short-shipping, both of which carry real costs. It also front-loads decisions: finishes and fixtures chosen during design are cheaper to change than the same choices made after framing.
Never approve a build from blueprints alone if a 3D model is available. Skipping the visual review is how expensive mid-project changes happen.
Post-Construction Utility: The Model Keeps Paying
The 3D model can become a digital twin of the finished home, a record of where the plumbing runs, where the framing sits, and what finishes were specified. When you remodel again, add a deck, or need to locate a shutoff valve behind drywall, that model can be a valuable reference document. Homeowners who keep their model files (and the software file format, not just a PDF) may avoid paying a designer to re-measure the house years later.
6. How to Plan a Home Addition With 3D Tools
Planning a home addition with 3D tools follows a clear sequence. Each step builds on the last, and skipping one usually costs you later.
- Define the goal. More bedrooms, a bigger kitchen, or a home office? Write it down, with rough square footage.
- Measure the existing space. Accurate site analysis is the foundation. This is where a laser measure and a few photos of every wall save hours later.
- Build the first model. Your designer creates the initial concept from your measurements and goals.
- Review and revise. Walk through it. Change what feels wrong. Expect two to four rounds.
- Lock the design. Finalize materials, fixtures, and layout. This is the last cheap moment to change your mind.
- Plan the build sequence. Decide what happens when, including where you will live during construction.
The Learning Curve for Homeowners: DIY Tools vs. Professional Software
This is where most guides blur two very different experiences. The learning curve depends entirely on which side of the software divide you are on.
If you want to explore ideas before hiring anyone, start with a free consumer planner to rough out your wish list, then hand that file to your designer as a starting point. It shortens the first revision round.
Where 3D Design Leads Next: VR and AR Walkthroughs
The logical next step after a screen-based model is an immersive one. Many design firms now offer virtual reality walkthroughs, where you wear a headset and stand inside the unbuilt room at full scale. Augmented reality goes the other direction: you point a phone or tablet at your actual kitchen and see the proposed cabinets overlaid on the real space.
The Model After the Build: A Digital Twin
The last step is the one almost nobody plans for. When construction ends, keep the model. It becomes a digital twin of your home, a living record of what is behind the walls. Future renovations, repairs, and even resale disclosures get easier when you can show exactly what was built and where. Ask for the native file at project close and store it with your closing documents.
7. What 3D Home Design Can’t Do (And Common Mistakes to Avoid)
3D home design cannot fix a bad lot, a tight budget, or a structural problem that needs an engineer. It shows you the plan. It does not replace professional judgment.
Common mistakes to avoid:
- Treating the first render as the final design
- Ignoring structural limits the model cannot show
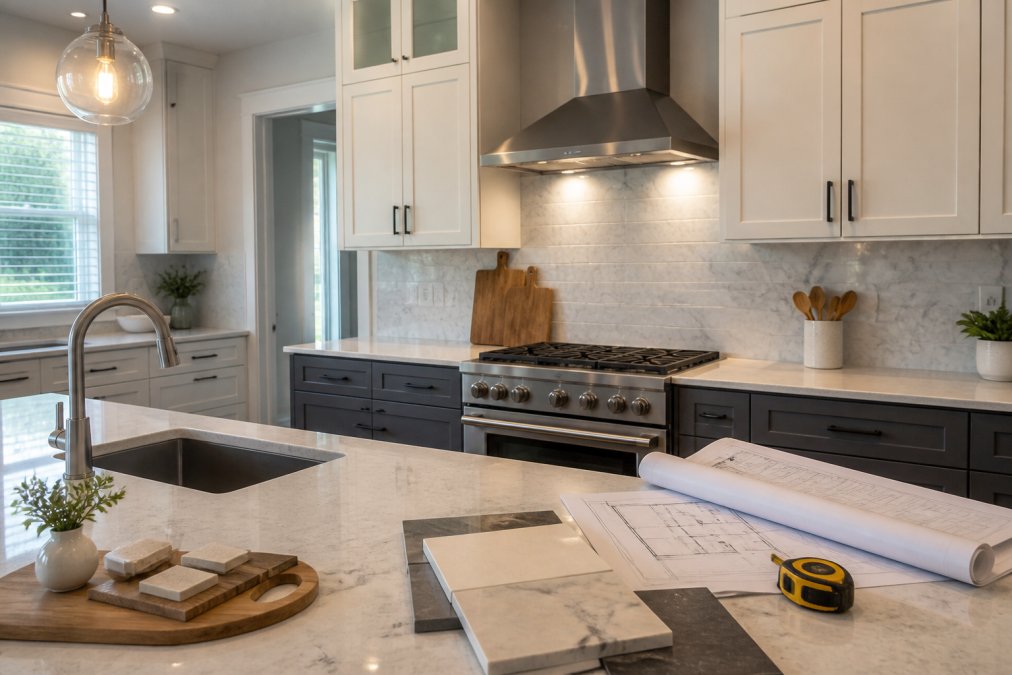
- Choosing finishes without checking real material samples
- Forgetting to plan for permits and inspections
Frequently Asked Questions
What are the primary benefits of using 3D design for home additions?
3D home design lets you see the finished addition before construction starts, which reduces costly change orders and helps you make decisions faster. It improves communication between you and your contractor because everyone works from the same visual. It also supports clash detection, so structural conflicts get caught on screen instead of on site. For additions specifically, 3D tools help with spatial planning, material estimation, and client approval, which keeps the project moving.
How much does 3D design for a home cost?
The cost of 3D home design services depends on the project scope, the level of detail you need, and whether the designer also handles construction documentation. A simple room rendering costs less than a full building information modeling package for a two-story addition. Because pricing varies by project, ask your contractor for a quote that lists what is included, such as design iterations, walkthroughs, and permit-ready drawings.
Is 3D home design worth the investment for small renovations?
For small renovations, 3D design is worth it when the project involves structural changes, tricky layouts, or multiple decision-makers. Seeing a kitchen or bathroom in three dimensions prevents expensive rework, like discovering a cabinet blocks a window after installation. If you are only replacing finishes in the same footprint, a simpler plan may be enough. Ask your contractor whether 3D visualization fits your scope before you commit.
Can 3D design help with the permitting process for home additions?
Yes. Permit reviewers want clear drawings that show dimensions, structural details, and how the addition meets local building codes. 3D models and the construction documentation generated from them give reviewers a complete picture, which can reduce back-and-forth and speed approval. In Northeast Florida, where wind and flood requirements affect many additions, accurate 3D plans help your contractor show compliance before the first inspection.
A renovation should not feel like a gamble. If you want to see your finished space before construction starts, Remodeling Pros can help. Our 3D rendering and design process lets you visualize every detail, our Last Day Breakthrough system keeps your original structure intact until the final moment, and our team guides you on which upgrades actually add value. Get a quote from Remodeling Pros and start your project with a clear picture of the result.